Import actuals from Excel
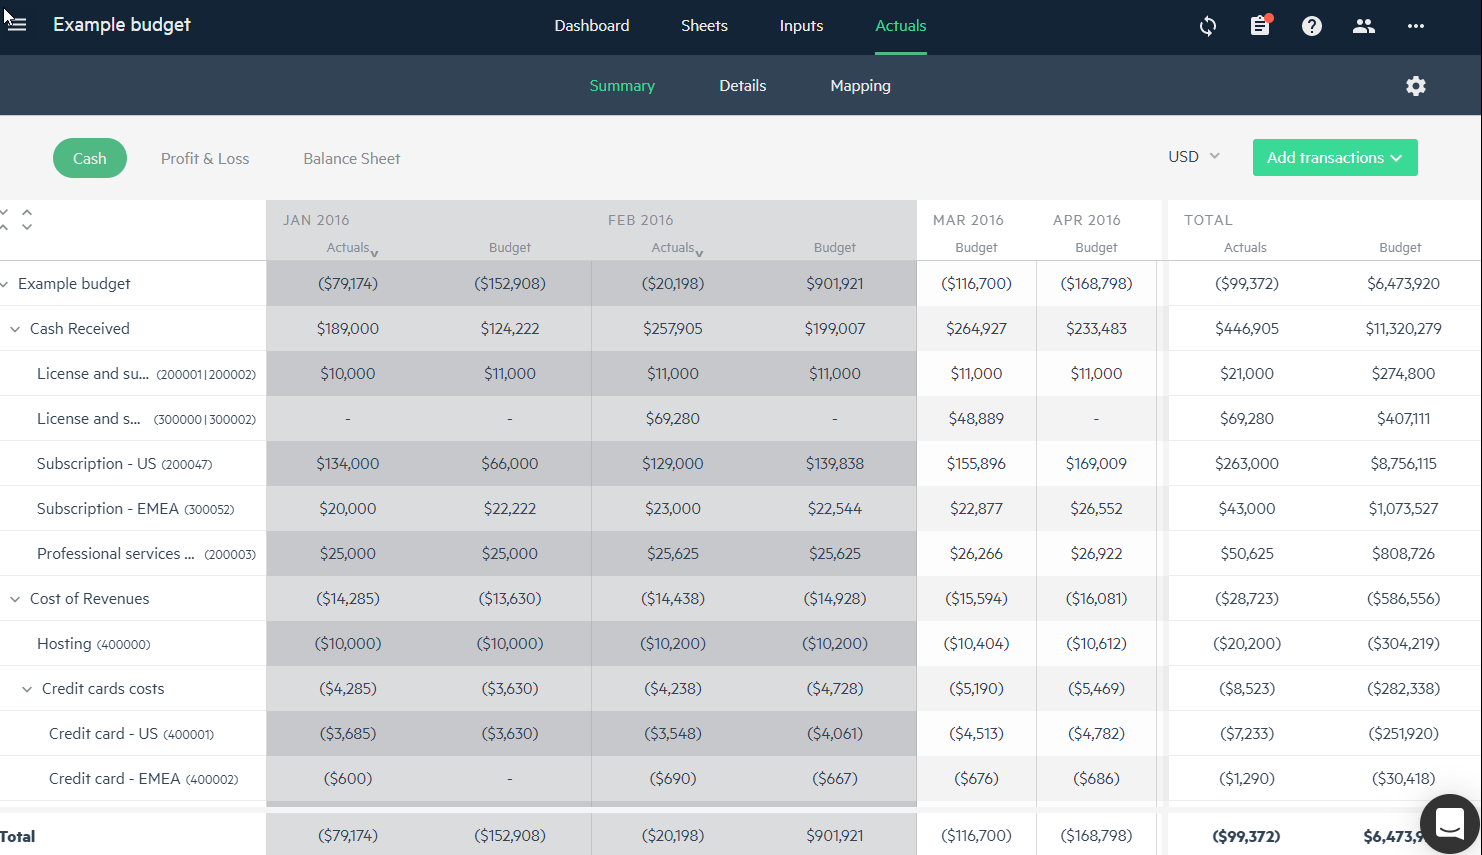
No matter how good your budget plan might be, you can’t predict the future. Different circumstances, good and bad, can affect reality. Therefore, it’s a good idea to compare your actuals with your budget predictions on occasion throughout the budgeting period. Importing actuals to Planning enables you to do this.
Importing actuals using the wizard in Planning enables you to get a side-by-side comparison of your budget plan and your company’s performance. Based on this information, you can then decide to update your budget plan accordingly.
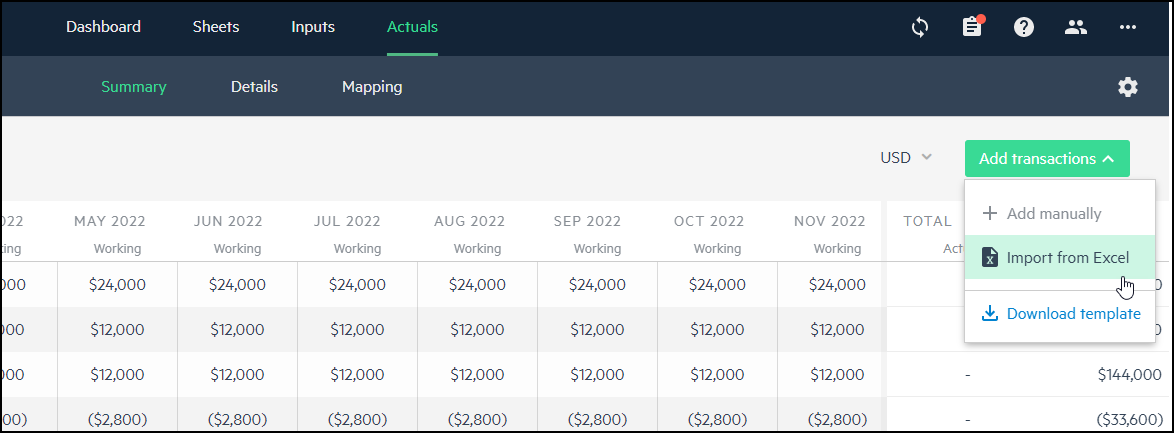
Set up your actuals in an Excel sheet according to the Excel template. To download a copy of the template, from the Actuals > Details tab, click Add transactions > Download template. This template is only for Excel transactions or Excel balances templates depending on which type of transaction you want to import.
To import actuals from an Excel file:
-
From either the Actuals > Summary or the Actuals > Details tab, click Add transactions > Import from Excel. The wizard opens.
-
Drag your Excel file to the wizard screen, or browse to the file by clicking Click here to browse for one and select the file.
As mentioned, set the Excel file up according to the template.
-
The file is uploaded and you are guided through 5 steps.
-
In the Selectstep, fill in the following information and then click Next:
-
Select which Excel sheet you would like to import from the dropdown.
-
From the What type of template is this? dropdown, select either Excel transactions or Excel balances, depending on which type of transaction you want to import.
-
The Overwrite existing data option overwrites actuals on a monthly basis. All current actuals in Planning from the months that are imported are deleted and replaced with the new imported actuals.
For example, if you select this Overwrite existing data option, and import actuals from Feb-22, all of your current actuals that exist in Planning from Feb-22 are deleted and replaced with the imported ones.
-
-
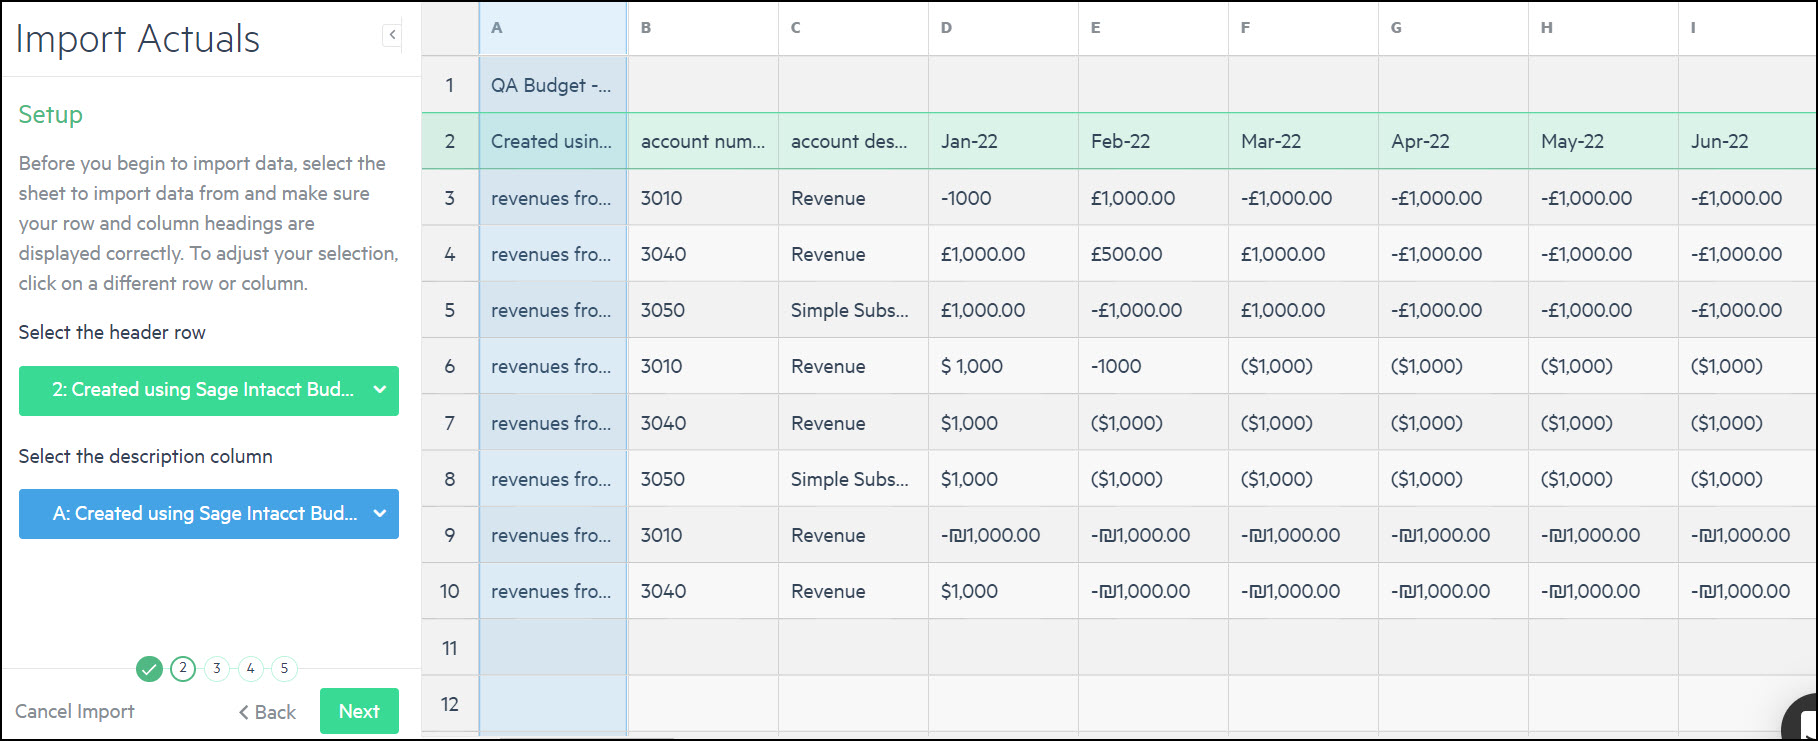
In the Setup step, select your header row and title column and click Next.
-
In the Data - Columns step, select the data columns you want to import, click on each dropdown to map to the correct column type, and click Next.
You need to select and map the account and currency columns, and at least one of the date columns. The other columns are optional.
To select a date column, select Amount from the dropdown, and then select the month from the calendar.
You can manually select and map the actuals to import to your budget.
However, if you want to import actuals with dimensions, make sure to meet the following conditions:
-
Dimensions values need to be identical - When importing dimensions with your actuals, the dimension values in your budget and the Excel sheet need to be identical.
For example, if a Location dimension value is USA in your budget, then it needs to be USA in the Excel sheet and not US. -
Dimension mapping needs to be consistent - Actuals data needs to contain an exact combination of mapped dimension values that you have in your budget.
For example, let’s say you have an account for Office rent that’s mapped to multiple budget lines in Planning by Location and then by Department. When you import actuals for this account, the transactions that have matching values are automatically mapped. If there is no match then you have to manually select the row and map in the following step.
-
-
From the Data - Rows screen:
Select the lines of actuals you want to import. Each row is automatically mapped to the Budget line and Type according to the mapping in your current budget. For accounts that are not already mapped in the budget, select the Budget line and Type from the dropdown lists. In addition, you can update any lines that were automatically mapped.
If you select data rows with currencies that aren’t used in your budget, the rows are crossed out and not imported. If there is a row without a currency value, then it is imported as the budget’s default currency.
To see the currencies used in the budget, click the Budget Settings icon
 from the Inputs or Actuals tab, and open the Exchange Rates tab.
The currency values in your budget settings and the Excel sheet needs to be identical. For example, EUR in your settings needs to be EUR in the Excel sheet and not EURO. For more information, see Add additional currencies.
-
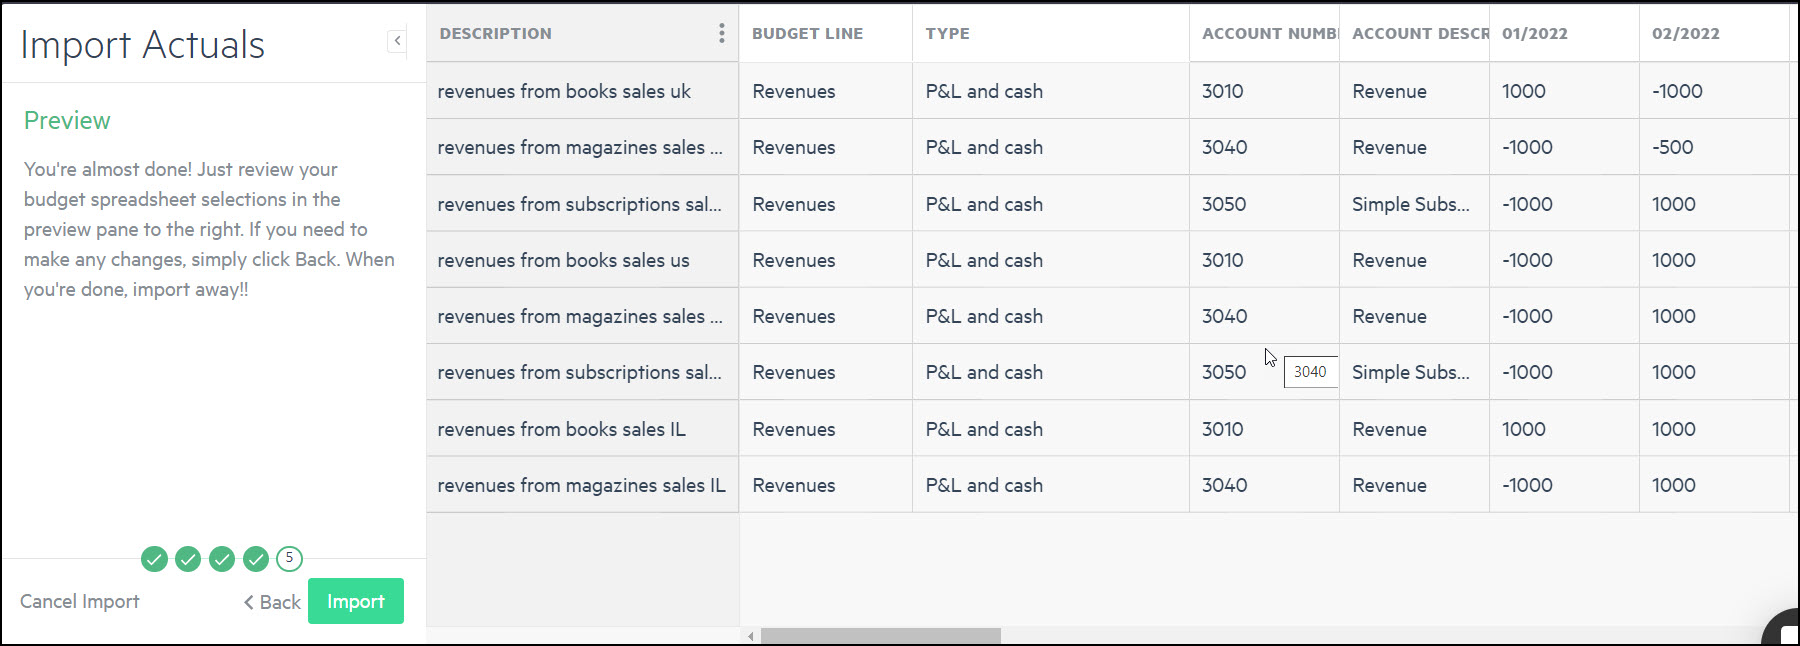
From the Preview screen preview the data for import. Click back
 to make any relevant changes.
 -
Click Import.
Is this helpful?
In this topic


